A couple of months ago I posted a recipe for Schwarzbrot, the traditional German mixed-grain bread, which I had made following a recipe from an old cookery book. Although it turned our wonderfully, I was left with a nagging feeling that the taste wasn’t quite as sour as I had expected it to be. Rejoicing at the opportunity to put my OCD to good use, I began researching the history and science behind sourdough bread.
There were only so many variables: the flour, the water – and the sourdough starter. I suddenly dawned on me that I had been using a ‘French’ starter, a levain, which uses white wheat flour, water and yeast, unlike the rye-based traditional German starter. Historically, German sourdough breads are made with a starter culture that contains ‘wild’ yeast: yeast that occurs naturally in grains such as rye, spelt or wholewheat, as well as in the air around us. In order to ‘catch’ these, a mix of water and flour is regularly mixed and left to develop its ‘sour’ taste by attracting the right bacteria from its environments. Incidentally, San Francisco air is said to have a particular type of yeast, which results in their breads’ unique taste. But that shouldn’t stop you putting your own stamp on your breads by developing your own starter, just to see what your area really tastes like …
The process of setting up your own starter takes more or less a week, depending on climate and air quality: the warmer the better, and, apparently, if you live in the countryside the air is naturally richer in the right bacteria. Incidentally it’s more or less the same type you’d find in those yoghurts you can buy specifically to boost the ‘friendly’ bacteria in your guts … But no worries if you don’t live in the mediterranean countryside! In fact, all you need to do is watch your starter, check how it is developing, and go with the flow. Mine took a week, using the often vilified London air and resting it in the cold oven. I might have been able to speed it up by parking a cow outside the window or by putting the starter on a plate on top of a warm radiator, but then our heating hasn’t been needed yet and the windows are old and draughty – and nothing is worse for yeast than a draughty kitchen!
The following instructions are clear in the sense that the process is broken down into 3 easy steps that are triggered by the way your starter is behaving: once it gets to a certain point, you can move on. In the meantime, all it requires is mixing it every 12 hours and resting it in a warm, draught-free spot in between. Do give it a try: you’ll be presented with a wonderfully rich and nutty flavour to your breads! But, in hindsight, I should have used my biggest bowl from the start, to give you a clearer idea of how the starter is actually gaining in volume: instead, I started with my smallest bowl, moving to the next size with every feed: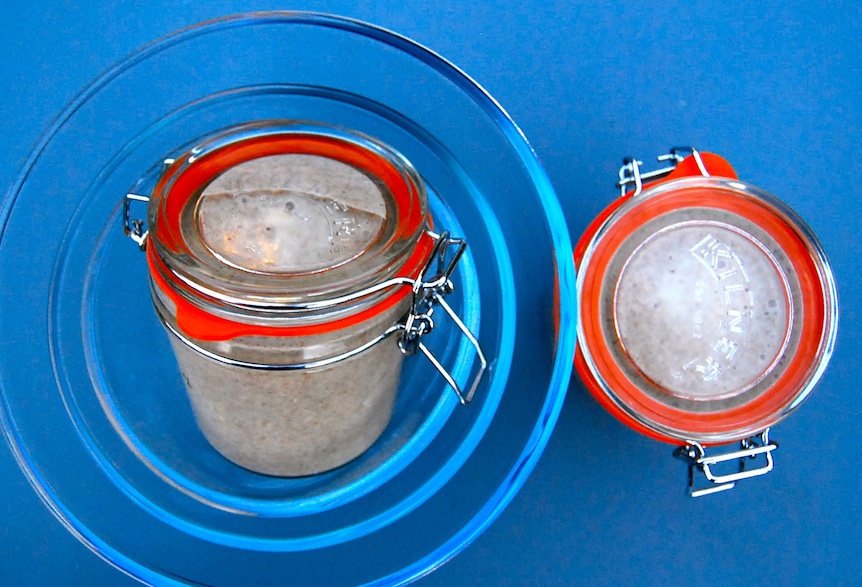
Sourdough Starter with Wild Yeast
Step 1: mix 100g flour (rye, spelt or wholewheat) with 150-200 ml lukewarm water: mix it quite vigorously and add water if necessary to make a rather runny batter, a bit like porridge. Cover with clingfilm or a damp towel and leave to rest in a warm and draft-free space, such as a cold oven or on a radiator. Repeat the stirring every 12 hours, then cover and rest.
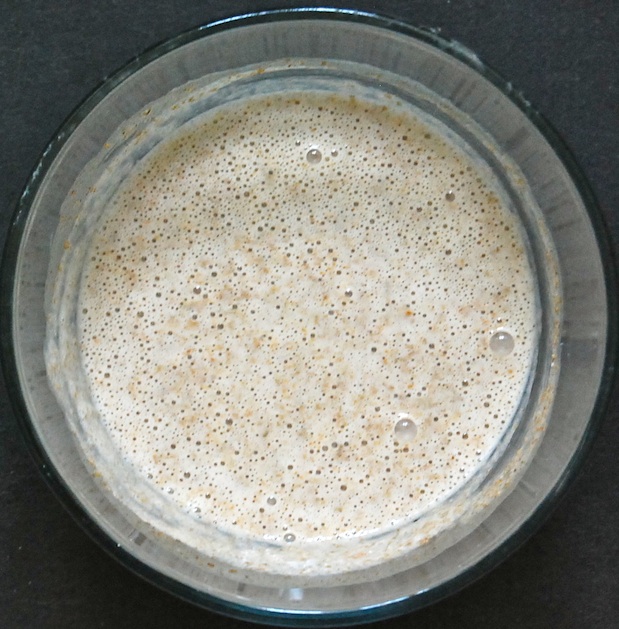
After mixing it, you can see the little bubbles forming on the surface – a sign that the process has started! I used rye flour, by the way.
Step 2: the next day or so, you’ll notice a bubble or two on the surface and the consistency has changed, ever so slightly, making it just that little bit lighter and fluffier. Add another 100g of flour and 100-150ml water and stir again. You want to make big bubbles as you do so as you are trying to incorporate as much air as possible, with it the necessary air-borne bacteria. Cover and rest, mix again after every 12 hours.
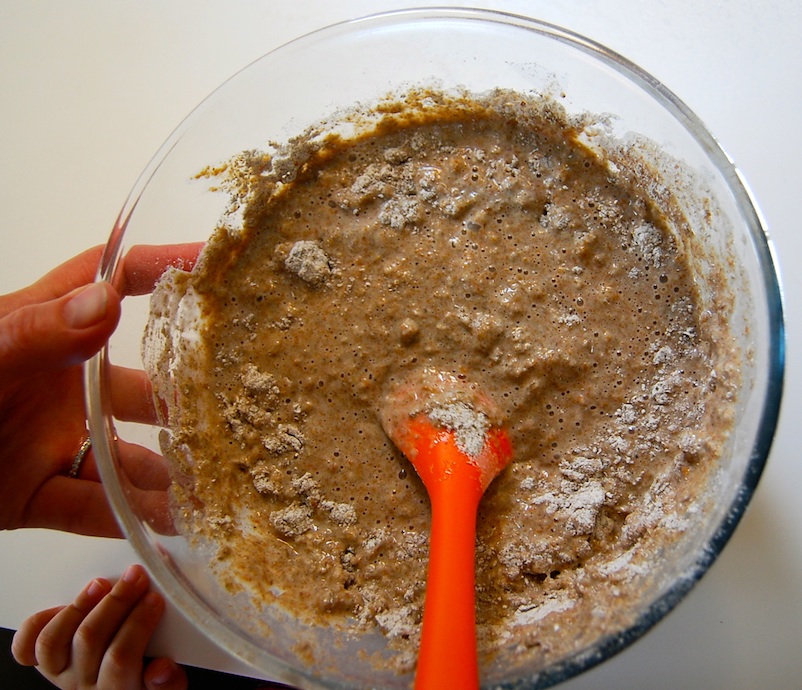
As it has outgrown its small bowl, I had to rehouse it to the next size up before feeding it. Child’s play, really.
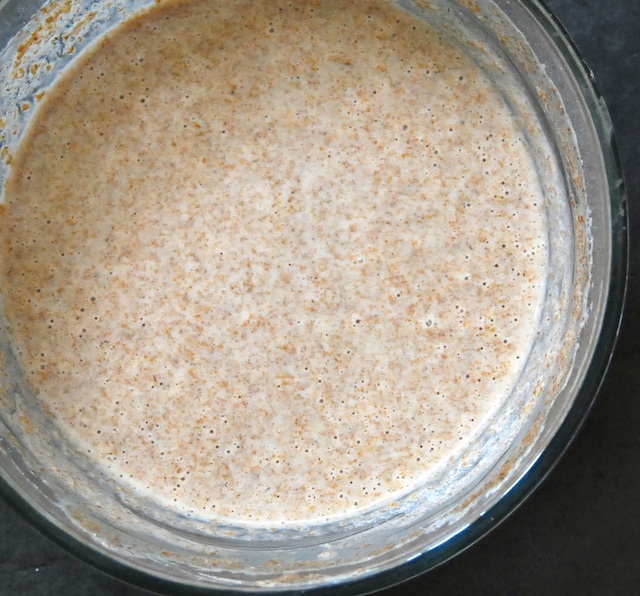
Even without mixing it, you can see the bubbles: it’s ready to be fed in Step 3.
Step 3: after two or three days, the mix should have started rising and it will have developed its unique smell: a bit like wheat beer, and very pleasant. You will notice how light and fluffy it feels when you’re mixing it. This means your starter has really caught on and needs a feed: add 200g of flour and around 250ml of water and mix it in. Cover and rest, mixing it every 12 hours for a few minutes.

Bubbling away, foaming even, in the biggest bowl available. This baby’s ready to rock.
Your starter will be ready to use after about 5-7 days in total: bubbly and sweet-smelling, a light cream colour – if it smells unpleasant, like vinegar, or has dramatically changed colour, bin it. It’s attracted the wrong bacteria. Use a very clean bowl and start again…
If you’ve lost interest or you have little time, simply pop the whole lot into the fridge until you want to bake your bread. As it took me longer than the 5 days I had estimated, the weekend had passed and with it the opportunity to make the bread. Not to worry, I’ll be posting the results later 🙂
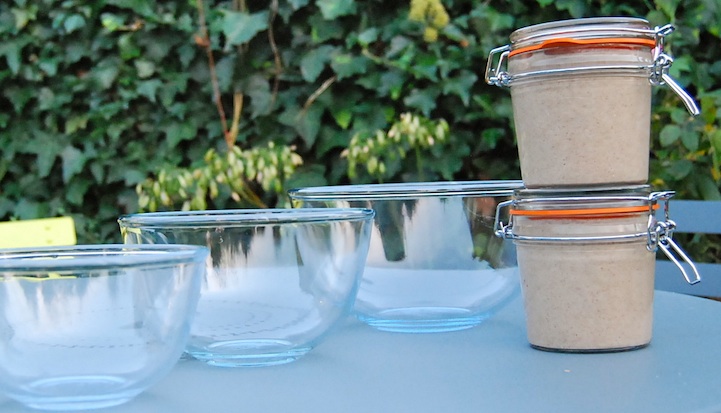
The finished product, with the full range of bowls used, to give you a better sense of perspective 😉
Obviously, you won’t want to be repeating this adventure every time you want to make a bread! Simply take away what you need for your recipe but keep back aroung 150gr and store them in a closed jam jar in your fridge. Next time you want to bake, repeat step 3 and after 24 hours you should have enough starter for your next loaf.
The starter will be fine for up to a month, even if you find it has separated, with a darker liquid on top: if it smells nice and sweet, it might need a bit of TLC in form of Step 3. Don’t believe any of that nonsense about having to pay someone to babysit your sourdough if you’re going on a holiday! A well-neglected starter can be used for decades, if not centuries. Seriously!
But now to the big questions: Is it worth it? Will Richard win the Great British Bake-off? And what difference will this starter make to the final bread? The jury’s out …


Pingback: German ‘Black Bread’ – Schwarzbrot | Ginger&Bread
Waiting patiently for final deliberations 😀
LikeLiked by 1 person
It will be ever so healthy, for a change 😉
LikeLike
Brilliant Ginger. Usually I use French Levain but I’m very fascinated to try your step by step procedure as I’m huge fan of bread 🙂 I can’t wait to see your bread.
LikeLike
I’ll keep you posted – I’d love to see how it works in the desert climate! If the ancient Egyptians used it I am sure it works, but it is just amazing to think that there are the same type of bacteria all over the world, regardless of the climate.
LikeLike
I am blown away by your diligence! This is why I don’t bake: I have zero patience. But then, you get to eat delicious homemade bread and I… well actually, I’m eating processed gluten-free rubbish from DM 😉
LikeLike
Looking good and healthy. The only tip I’d add is don’t store it in an ordinary glass jar as it may be too strong and break the glass (I have memories of exploding elderflower fizz with glass and sweet syrupy drink everywhere). I must admit I don’t even chance it with a preserving jar like you use but put mine in a plastic container but I may be just extra cautious.
LikeLiked by 1 person
You’re absolutely right – you need to leave a lot of space in the jars to allow for growth! I’ve had the occasional overspill (like last night, serves me right for sacrificing sense in favour of aesthetics!) but never an explosion (apart from the apple juice, but that’s a different story altogether ;-))
LikeLike
You see, that’s how it used to be. People were making it at home and then they were making bread out of it. Have a look at my brioche recipe, you will know what I mean. Today we have no clue what we eat. Beautiful recipe. It’s so cool that you made this effort- this is still on my list of things to do by the way, but….I make my own yoghurt, and I confirm that once you start just keep using the very last yoghurt from the previous tranche, and you can go on like this forever. I’m sure it’s the same thing! What about our cheesecake bake off thing?:)
LikeLike
I’ll so check out your brioches – I adore them! In an ideal world, I would be served them in bed in the morning, with a cup of cafe au lait. The reality, my friend, couldn’t be any further from this.
Cheesecake is still looking really exciting – I was thinking Topfenstrudel, which is a variation on the theme?
LikeLike
I need to step up my skills. I’ve never made or used sourdough. I keep on saying I will do it but the procrastination is stronger than the will power!
LikeLike
The trouble is that once you start you’ll be hooked. It’s that serious 😉
LikeLike
Ha ha I can’t wait to start. I totally know what you mean….
LikeLike
I have (as usual) some sourdough fermenting now, but I found some of your tips very helpful. I follow my intuition, my senses of taste and smell, but need to read all I can, bit by bit. Thanks for posting this and look forward to seeing the end results.
LikeLike
You’re absolutely right about intuition! These skills used to be passed down from one generation to the next, and you could really see – and smell – the progress. Now we need clear instructions, exact weights and times, and the fact that a starter takes sometimes more and sometimes much less time is a bit worrying.
For the experienced sourdough baker this post is not exactly earth-shattering, but I hope it takes away the fear-factor for people who haven’t tried it before. You will know by the smell whether you’re on the right track or not!
LikeLike
I’m a huge sourdough fan and loved this post. I’d like RIchard to win!
LikeLike
Glad you enjoyed it – and good luck for the final;-)
LikeLike
The sourdough adventure IS addictive! I went a little crazy fermenting a few pots of starter earlier this year, before I went away on vacation and neglected to feed them. But for a few weeks while they were eagerly doubling, I thought of the little culture like a dear pet, and congratulated myself on being a proud sourdough mum.
Can’t wait to see what you make with yours!
LikeLike
It’s amazing to imagine that they just bubble away in your fridge…possibly plotting away on future world domination…
I’ve already made a couple of loaves but I am working on the perfect one 🙂
LikeLike
Great post!! thanks so much, really helpful and useful – and great pics!
LikeLike
Thanks! Let me know how you’re getting along! I haven’t forgotten about the Macbeth scheme, btw, it’s just been manic at work and I haven’t had time to look into it yet!
LikeLike
I will! Thanks again!
LikeLike
Pingback: German Country Bread, or Schwarzbrot 2.0 | Ginger&Bread
Help! I think my starter has attracted the wrong sort of company! Maybe some of those wrong bacteria… It does smell quite sour, but is that how its supposed to be? It smells quite strongly sour too… I think I ought to start again, but where might I have gone wrong or was I just unlucky?
LikeLike
Sour as in vinagery? As you are using ‘wild’ bacteria, your starter might have attracted the wrong ones. Start again, take care to keep things very clean (just to make you feel better) and ensure even temperatures (cold, closed oven?). Oh, and buy a bottle of wheat beer, such as Franziskaner or Erdinger, to check out the correct smell 😉
Let me know how it goes!
Ginger x
LikeLike
That’s where I went wrong, I didn’t have the beer to check it with! Thanks for your advice… yes, I am sure it is wrong although my husband thinks it smells ok… But that’s a man’s nose!!
LikeLike
Let me know how you’re getting on – and thanks for linking up 🙂
LikeLiked by 1 person
Pingback: Wry about rye | Lois Elsden
Pingback: Soughdough baking today! | Lois Elsden
Have you tried using this to make a black bread yet? I’m on tenterhooks!
LikeLike
I did – did I not link it?! It’s the ‘black bread 2.0’ I think …
LikeLike
Pingback: Pretzel Bagels for Lent | Ginger&Bread
Pingback: Wholewheat, Rye and Oat Bread | Ginger&Bread
Nine months later and I’m about to start my starter again… I hope it works this time, I’m sure it will as I’m using your recipe!
LikeLike
Pingback: Back to basics | Lois Elsden